
Unable to write – the disk is write protected error (HDD, USB, SD card)
Sometimes, when trying to format a one of your local disks, a USB storage device or a SD card, you may face a certain error message that reads either Unable to complete format or The disk is write protected. This means that the formatting process cannot be finished until the error is resolved. Sometimes this may even render your storage device unusable due to the unfinished formatting process.
There are several possible reasons why this may be happening. Some of them include:
- You don’t have the Administrator privileges to change/delete/modify any of the files on the storage device, let alone, format it.
- The file system is in a format that Window cannot recognize (for instance – RAW format)
- The file system on the storage device is corrupted.
- The device/drive has sustained physical damage.
In this article, we will give you several possible solutions that you can try so as to resolve the annoying error. Most of the already mentioned possible causes for the disk is write protected error can be fixed. However, if your device has been physically damaged, there’s usually nothing that you can do.
Solution 1: Fix the disk is write protected error by flipping the switch on your Flash memory/SD card adapter.
If you have problem formatting a flash memory device or an SD card due to write protection, it might be that you haven’t switched that protection off. Therefore, take a look at your flash memory and see if there’s a button on it. If there’s one, make sure that it is turned off. In case you’re using a SD card, there should be a little switch on the card’s adapter that, too, needs to be turned off so as to disable the Write Protection. After you do that, try formatting your storage device once again. If this didn’t work, go ahead and try our next suggestions.
Solution 2: Fix the disk is write protected error by disabling Write Protection in Registry
This is yet another possible way to fix the issue, this time using the Registry Editor on your computer. To access the editor, press Winkey + R and in the search field write regedit. Hit Enter and the Registry Editor will open for you.

First thing you need to do here is make a back-up of your registry in case something does not go as planned. To do that, click on File and select Export. Choose a where you want to save the registry back-up and give the file a name. Also, make sure that the Export Range is set to All. After having done that, click on Save.


Now, onto the actual fix: In the Registry Editor navigate the following path: HKEY_LOCAL_MACHINE\SYSTEM\CurrentControlSet\Control\StorageDevicePolicies
- If you don’t have a folder StorageDevicePolicies, create one by right-clicking on the Control folder and selecting Key from the submenu labeled New. Name the new key StorageDevicePolicies.

Now, double-click on the WriteProtect value from the right panel of the StorageDevicePolicies folder.
- If you don’t have that value, create it by right-clicking on the empty space in the right panel and selecting New > DWORD (32-bit) value. Name the it WriteProtect.

Once you open the WriteProtect value, type 0 under Value Data and click on OK to turn off the write protection. If you ever want to turn it back on, change the Value Data to 1.

Now close the Registry Editor and restart your PC. You can now try formatting the storage device and hopefully the error will appear no more.
Solution 3: Fix the disk is write protected error by repairing corrupted or RAW file system using the Command Prompt
Our third suggestion is to use the Command Prompt to access the Diskpart tool.
To open the command prompt go to your start menu and in the search field type cmd. Right-click on the first search result and select Run as Administrator.

Now, in the resulting window type the command diskpart and hit Enter.

- If you receive the following message, then the storage device has probably been physically damaged: DiskPart has encountered an error: The request could not be performed because of an I/O device error. See the System Event Log for more information.
Next thing you need to do is type another command: list disk. After you hit Enter, a list of your local disks will be displayed. It should be easy for you to find out what’s the number of the problematic disk by looking at their storage capacity.
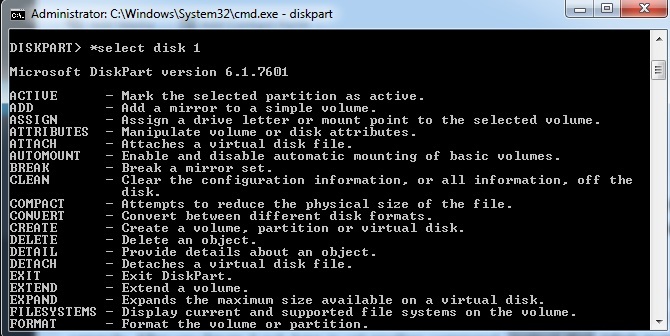
After you figure it out, type in yet another command: *select disk {disk number}
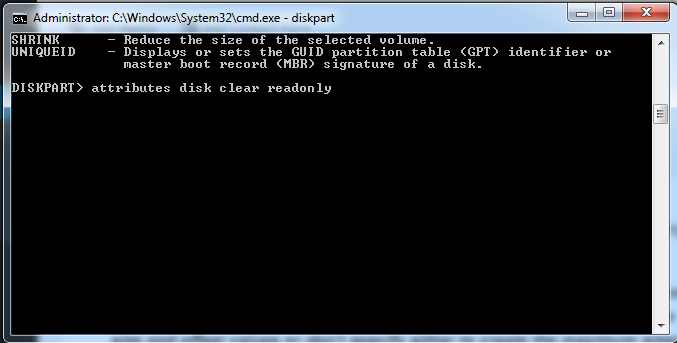
Now, to clear any corrupted or RAW attributes use this command in the command prompt: attributes disk clear readonly.
Next thing you need to do is consequently type in the following commands, pressing Enter after each one: clean; *create partition primary
- If you happen to be displayed the following message: No usable free extention could be found. It may be that there is insufficient free space to create a partition at the specified size and offset. Specify different size and offset values or don’t specify either to create the maximum sized partition. It may be that the disk is partitioned using the MBR disk partitioning format and the disk contains either 4 primary partitions, (no more partitions may be created), or 3 primary partitions and one extended partition, (only logical drives may be created) – then try any of the following methods to fix that.
- Use the commands select partition 1 and active one after the other
- Use the command clean all (takes time to complete) and them type in create partition primary.
Lastly, format the disk by in Fat32 by using the following command: *format fs=fat32
After you’ve done it all, restart your computer and try formatting your storage device in a format of your choice. If all goes well, you shouldn’t be getting this nagging error ever again.