
This guide will teach how to to crop and edit images on an Android device. The instructions work with all devices and all versions of Android.
Using your smartphone is the easiest way to take and share pictures when you are ion the move. To make any picture more noticeable, you may need to use some adjusting, cropping, and enhancing tools. Many people believe this is too hard to do on Android or that there is no suitable tools for the task. They are wrong.
As an Android user, you are quite lucky, as Google has a good set of editing features that will help you modify your photo however you want.
We must note that these features could be different because of the different versions of the Google Photos App. With the introduction of the Lollipop OS, the new Photos App has been launched as well, but there are no significant changes to the crop/resize tools. Both the old and the new version of this app provide many cool and interesting options for cropping and editing your pictures.
Here are the instructions on how to make the best use of the Photo app that comes with every Android device.:
How to Crop and Edit Images in Android
The Guide
- Open your image with the Photos app. There will be three buttons along the bottom. Click on the one that looks like a pencil to start the editing process.
- You will notice that the controls are laid out along the bottom as well.
Find the tool that looks like a magic wand – it will automatically fix your image in terms of color, brightness, and contrast. There will also appear a Crop and a Rotate controls.
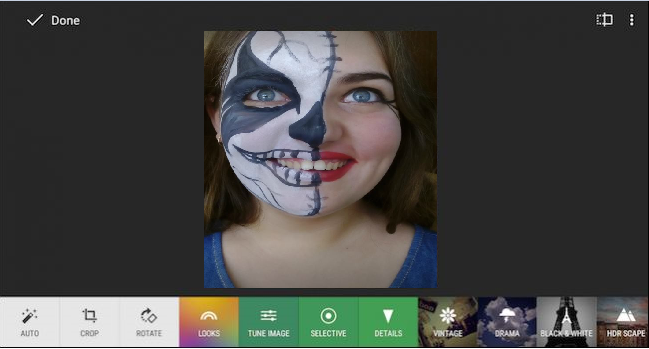
* The cropping controls could be used by dragging inward from the corners.

* The App also provides some pre-designed filters that you may use for modifying your image’s appearance. In the new Photos App you can compare the new look and the previous one by tapping the rectangle with the vertical-line icon.
*To reverse what you have done to the image, hit ‘X’.
* To apply all the changes you have made, just tap the little checkmark.

* There are many other features like ‘Tune Image’ and ‘Selective’. You can choose them and adjust them as you wish.
* You may also use the effects that the Photos Apps provides (Vintage, Drama, Black & White, etc.). Just play with them freely. Also, you may add frames.

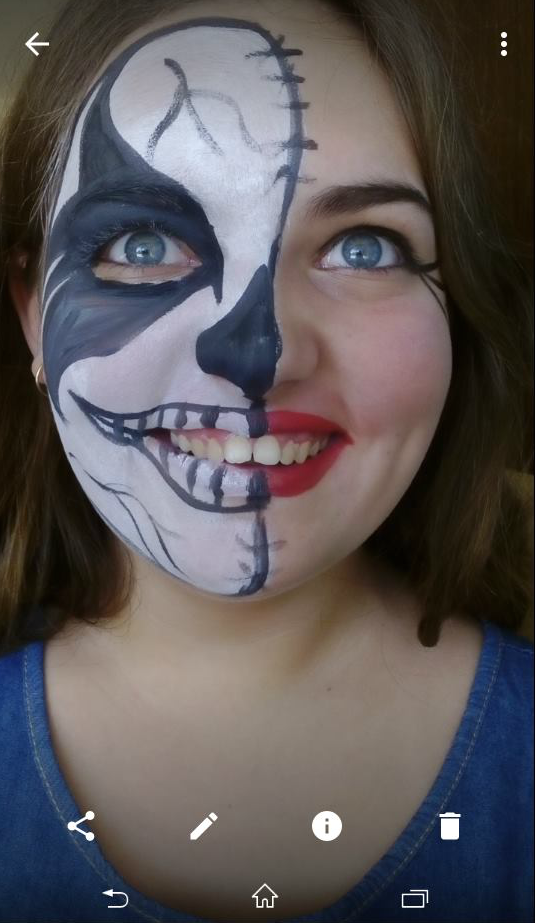
Experiments are always welcome. Play with all the features and check what you can achieve. In case you do not want to apply the changes made, you can reverse the process. In order to go back, hit the three dots in the upper-right corner. After that, go with ‘Revert’ from the list that you will see.

You may not have this particular version of the Google Photos App if your Android smartphone is an older one. Still, there should be a kind of a built-in photo viewer and editor. The Gallery App could also have some useful features.
Also, the version of Android on a Samsung phone, for example, may provide you with very different editing features from the one we have elaborated on above. No worries, though, they should include all these editing controls and maybe even some more.
However, we DO recommend Google Photos because of its editing features and automatic photo backup. You and your images will always be safe while using this App. No one could ever go wrong with it.
If something wrong happens, let us know in the comments. We will try to find a solution and to create an adequate guide for your certain case. Also, inform us if the article above has been any helpful! We are open for advice, suggestions, recommendations and all sorts of feedback.